Article and photographs by Susy Morris
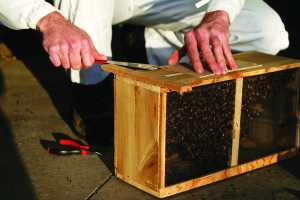 Photo 1: First we pried the lid off the box of bees.
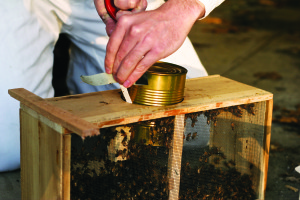 Photo 2: The can of sugar syrup and the queen cage (the queen comes in her own little cage inside the bigger cage of bees) were removed, then we replaced the small wooden lid to keep the bees inside until releasing them.
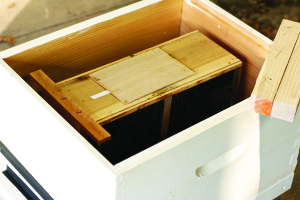 Photo 3: The box of bees was placed in an empty super on top of the bottom board of the hive (with the lid on the box of bees – it’s removed after we get the queen cage suspended above). This process takes the place of banging the box and dumping the bees into the hive; it seemed like a “nicer” option, both for us and the bees.
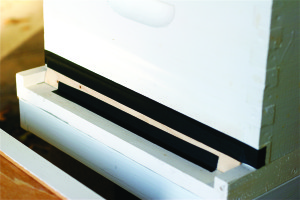 Photo 4: A piece of wood was taped over the hive opening to keep the bees inside until we moved them outside later in the day when it warmed up.
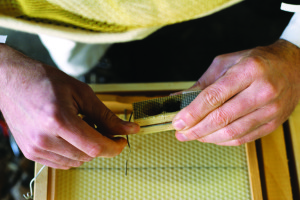 Photo 5: We proceeded to hang the queen cage in a super with frames (the part the bees build comb on) above the empty box that had the bee cage in it. We wired her cage in so that the bees could still reach her. She will be released into the hive in three days.
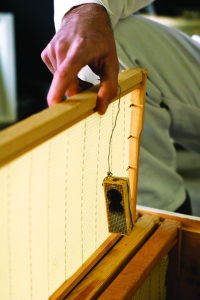 Photo 6: The queen’s cage is placed over to the side so that the jar of sugar syrup that you put on top to feed the bees doesn’t drip on her and get her wet.
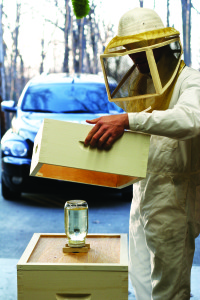 Photo 7: After placing the super with the suspended queen on top of the box that has the bee cage in it, remove the lid from the box of bees and put the inner hive cover into place with a jar of sugar syrup on top so that the bees have something to eat. Next, place an empty box or two (we used two because they were small) on top, and then the hive cover to keep the bees warm and to keep them inside. It was a much easier process than we were expecting, thanks to Dave’s installation instructions and the cold weather, which makes the bees pretty lethargic. We’ll definitely be using this method every time we install bees.
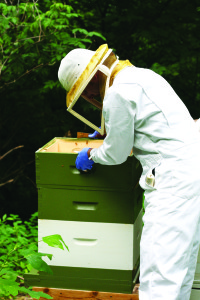 Photo 8: We kept our bees in the garage for a few days as Dave recommended because it was really cold outside (dipping down into the teens). When the weather warmed up after two or three days, we moved the hive outside to its final location. Then we released the queen a few days later. Our bees did well that summer and last summer, but they failed to survive the long, cold 2010-’11 winter. That means we’ll be doing this again, only we’re hoping to build Warre hives (an old-fashioned top-bar hive) next time around.